How to Reduce Glare on a Pickleball Court
- VKS
- Oct 21, 2026
- Blog
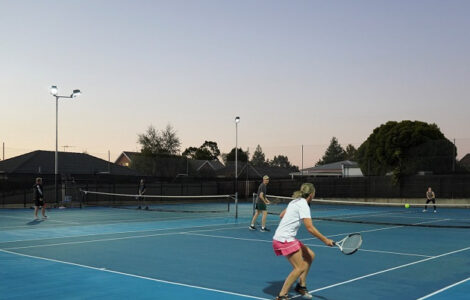
Pickleball glare is a visibility problem, not merely a comfort complaint. A player tracking a lob may look directly toward a bright LED source for a second or two; that is enough for the ball to lose contrast against the sky or ceiling. The court can still measure the required average lux, yet the playing experience can be poor. The practical goal is to place and aim luminaires so useful light reaches the court while the brightest parts of the fixture stay outside common sightlines.
This article focuses on glare control in new-build and retrofit projects. For target illuminance, uniformity and broader layout choices, see thePickleball Court Lighting Guide: Lux, Layout and Glare Control
Why Pickleball Is So Sensitive to Glare
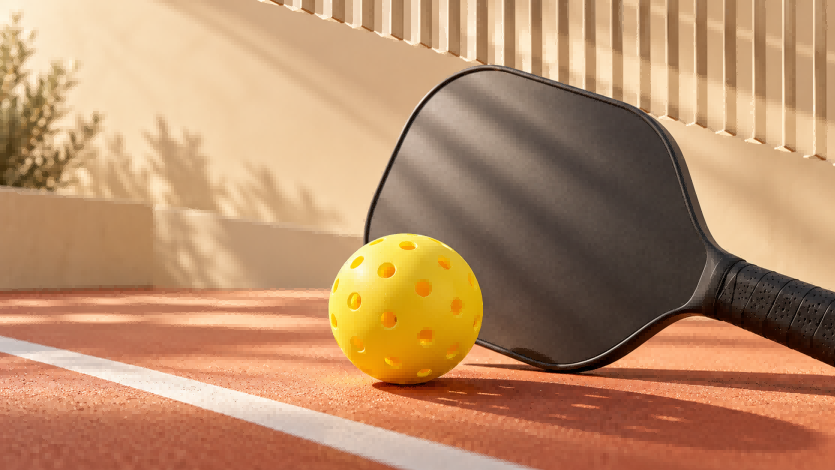
A pickleball is small, light-colored and often viewed against a changing background. During a serve, a third-shot drop or a fast exchange, a player shifts attention between the court, the net and the air above the opposite baseline. Lobs make the problem more acute because the player looks upward for longer. Direct glare occurs when a bright source sits in the line of sight. Reflected glare can also occur when a glossy court, pale wall or roof surface creates a bright patch that competes with the ball.
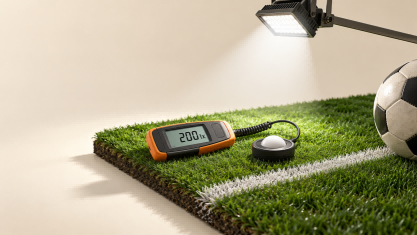
Average illuminance does not show either problem. A lux meter placed on the playing plane records light arriving at the floor. It does not tell a designer whether the player sees a high-luminance fixture beside a ball. That is why a glare review must consider observer positions, fixture brightness, beam direction, mounting geometry and background brightness together.
Start With the Player View
Map the sightlines before choosing fixtures
A reliable design begins with the views that matter: from each baseline toward the net and opposite court, from the non-volley zone toward a rising ball, and from each side during a cross-court exchange. Mark these directions on the plan before selecting poles. If a proposed fixture is visible near the expected ball path, change the geometry early. Shielding alone rarely fixes a poor pole location.
Keep bright sources out of baseline views
Fixtures behind either baseline are often the most troublesome. Players repeatedly face the opposite baseline, and goal-like end positions make it easy for luminaires to overlap the path of a lob. Side-mounted poles are generally easier to control because the light can be cross-aimed across the court. The final arrangement still depends on setbacks, fencing, runoff space and nearby property, so it should be modelled rather than copied from a generic plan.
Use Pole Height and Setback to Improve the Angles
Very low poles appear economical, but they often force a fixture to aim steeply across the court. This makes the luminous face more visible and concentrates light near the pole. For many outdoor commercial courts, a mounting height around 6 to 8 metres is a workable starting range, subject to local limits and the actual optical distribution. A higher mounting point can spread light more naturally and reduce severe hot spots, but it requires controlled optics to limit spill light.
Pole setback also matters. A pole that sits too close to the sideline can create a bright source at a shallow angle and may interfere with circulation. Moving it farther away reduces this risk, although the fixture must then throw light farther. The right compromise comes from the court envelope, not the painted 20 by 44 foot lines alone. Include runback, fencing, paths and nearby courts in the model.
| Design choice | Glare effect | Practical check |
| Low mounting height | Often increases steep aiming and visible source brightness | Review lobs from both baselines |
| Side-mounted poles | Usually keeps sources away from end-to-end views | Cross-aim without lighting the fence |
| Adequate pole setback | Reduces shallow-angle viewing and collision risk | Include the full runoff area |
| Higher, controlled mounting | Can improve distribution and reduce hot spots | Check spill light at property lines |
Select Optics for Control Rather Than Maximum Output
Do not solve a layout problem with more wattage
A higher-wattage floodlight can increase the measured average, but it can also increase apparent brightness in a sensitive direction. Start with a photometric distribution that places light in the intended zones. Near-court, mid-court and far-court areas do not need the same beam shape. A mix of controlled distributions can reduce the need to overdrive fixtures and can improve the minimum illuminance without adding severe hotspots.
Use shields as a finishing tool
Visors, louvers and backlight-control accessories can limit high-angle light and reduce spill beyond the court. They are useful when the basic geometry is already sound. They do not create a comfortable installation if a luminaire remains in a primary viewing direction. Check that any accessory does not block too much useful light or force the contractor to compensate by adding fixtures.
Aim Fixtures as a System
Every fixture should have a stated aiming point, tilt and rotation. “Aim at the court” is not enough for commissioning. Cross-aiming from the sides distributes light from more than one direction and can soften shadows, but overlapping beams must be balanced. Too many fixtures aimed at the centre can create a bright plateau, while the baselines and corners fall behind.
During commissioning, verify the aiming schedule from player viewpoints as well as with a meter grid. Stand at each baseline, follow an imaginary lob and look toward the opposite side. If a fixture dominates the view, adjust the luminaire only after confirming the change will not create a low-light area elsewhere. A final lux map and field check should agree.
Indoor Pickleball Requires a Different Glare Strategy
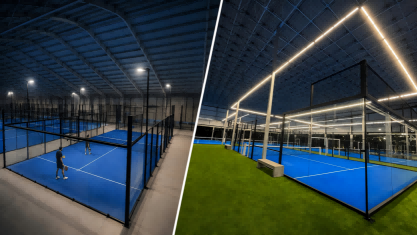
Indoor courts remove weather and boundary-spill concerns, but they place fixtures near the upward view used for lobs. A warehouse-style high-bay grid can provide sufficient illuminance while putting bright point sources above the most sensitive playing zones. Ceiling height, suspension height, ceiling reflectance and court orientation all influence the result.
Position matters as much as the low-glare rating
A low-glare data-sheet claim does not guarantee a low-glare court. The observer position is different on every court, and a fixture that is comfortable on a concourse may be distracting above the kitchen line. Where structure permits, perimeter, side-biased or linear arrangements can move bright elements away from the central upward view. Deep-cell louvers and broad luminous surfaces can further reduce the intensity of individual bright points.
Validate the Result With a Simulation and Field Review
Request a calculation that includes the real pole or ceiling coordinates, mounting heights, photometric files, aiming directions, maintenance factor and measurement grid. Review average and minimum illuminance, uniformity, point values near the baselines and the light distribution outside the court. Where a formal glare metric is available, treat it as supporting evidence rather than a substitute for player-view review.
- Check both sides of every court; a layout can be comfortable from one baseline and distracting from the other.
- Model all courts together in a multi-court facility, because overlap can improve edges or create central hot spots.
- Review fence, wall and roof brightness, particularly for white or glossy surfaces.
- Document final aiming coordinates so maintenance work does not undo the original glare-control design.
Common Reasons a Court Still Feels Glary
The most common causes are poles that are too low, fixtures placed behind baselines, a single wide beam used everywhere, uncontrolled tilt during installation and a design that stopped at average lux. A poor maintenance replacement can also change glare: a different optic or an incorrect rotation may produce the same wattage but a very different luminous pattern. Require approved photometry and an aiming schedule when purchasing replacement equipment.
Frequently Asked Questions
What is the best pole position for reducing pickleball glare?
Side-mounted positions are often easier to control because fixtures can be cross-aimed and kept away from the dominant baseline view. The best position depends on setback, court orientation, pole height and the optics used.
Do higher poles always reduce glare?
No. More height can improve beam geometry, but a poorly aimed or overly bright fixture can still cause discomfort. Height, setback, output and beam control must be evaluated together.
Can lower wattage fix glare?
It may reduce source brightness, but it can also create low-light areas. Correct pole geometry, optics and aiming first; use wattage as part of the final performance solution.
Should pickleball lights be installed behind the baseline?
Avoid it where possible. Fixtures in the baseline-to-baseline view are more likely to overlap the path of lobs and high returns.
Are shields enough to make a court low glare?
Shields help control high-angle light and spill, but they cannot fully correct a fixture placed in a primary sightline. They work best after layout and aiming are resolved.
How can an indoor club reduce glare from high bays?
Review the fixture grid from each court, avoid concentrated sources over the central upward view when possible, and consider side-biased or linear low-glare systems where the structure supports them.
Conclusion
A glare-controlled pickleball court gives players a stable view of the ball without sacrificing useful illuminance. Start with player sightlines, use side-mounted geometry where feasible, select controlled optics and commission each fixture against a documented aiming plan. A lighting simulation should verify the numbers, while an on-court view confirms the playing experience.